
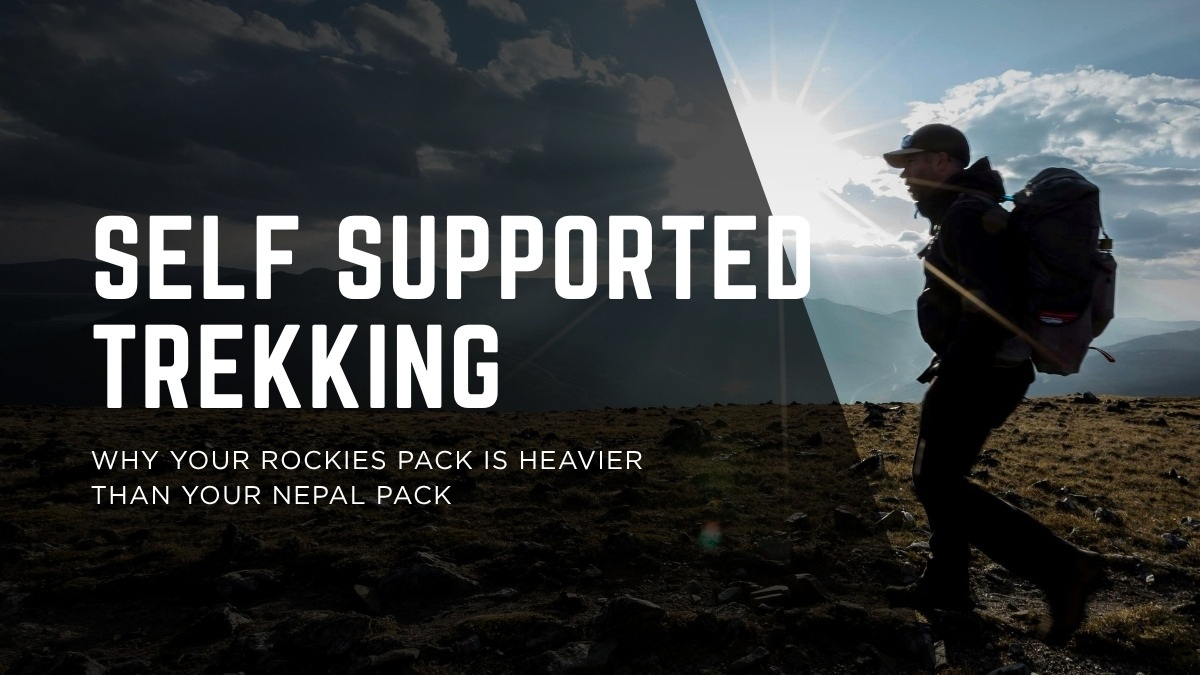
Everest Base Camp and the Inca Trail are usually walked the supported way. A porter or a yak carries the duffel, a teahouse or a camp crew handles dinner, and you walk with a daypack. The Skyline Trail in Jasper runs on a different model. The tent, the stove and three days of food ride on your back for 44 km.
That model is self supported trekking, and it’s the standard way to do a multi day trip in the Canadian Rockies. If all your multi day experience is the supported kind, you’ve trained to carry half the weight or less, and closing that gap is what your training has to do.
What self supported trekking means in the Rockies
There’s no hut network in any useful sense. A handful of Alpine Club of Canada huts are scattered through the range, none of them on the Skyline, and there’s nothing like the rifugio every few hours that makes Alta Via 1 in the Dolomites walkable with a daypack.
So everything rides on you. Tent, sleeping bag, pad, stove, fuel, water filter, three days of food, bear spray on the hip, and enough layers for snow, because it can snow in the Rockies in July.
| Supported trek | Self supported trek | |
|---|---|---|
| Examples | Everest Base Camp, Inca Trail | Skyline, Rockwall, Tonquin Valley |
| Who carries camp | Porters, yaks, or a teahouse | You |
| Dinner | Cooked for you | Your stove, your fuel |
| Typical pack | 11 to 18 lb (5 to 8 kg) | 33 to 44 lb (15 to 20 kg), before water |
Ultralight kits come in under that. The range is what a conventional tent, stove and three days of food add up to.
The Skyline Trail, by the numbers
Parks Canada calls the Skyline Jasper’s most popular backcountry hiking trail. It’s also the cleanest example of what self supported trekking demands, and the agency’s Skyline trail profile has the numbers.
Skyline Trail at a glance
- Distance: 44 km one way
- Above treeline: almost 25 km
- Passes: Little Shovel 2,240 m (7,350 ft), Big Shovel 2,320 m (7,610 ft), The Notch 2,510 m (8,235 ft)
- Start: Maligne Lake trailhead, 1,690 m
- Usual trip: 2 to 3 days, heading north from Maligne Lake
- Season: early July to early October
The standard 2 night split looks like this. Day 1: about 20 km from Maligne Lake to Curator, counting the 0.8 km spur to the campground, with 760 m of climbing. Day 2: about 25 km to the Signal Mountain trailhead, back up the spur, 550 m up and close to 1,450 m down. The last 850 m of that descent comes in one drop down the Signal fire road, at the end of the day, when your legs have the least left.
Trail runners do the whole thing in a day with a running vest, which tells you the 44 km isn’t what makes the Skyline hard for a backpacker. The 33 to 44 lb is.
Weather compounds it. The Notch can be impassable early in the season, and the ridge beyond it is exposed for hours. A heavier pack makes bad weather worse: you move slower, so you’re exposed longer, so you need more of the layers that made the pack heavy in the first place.
Shovel Pass Lodge, a short detour from the Curator junction, takes the tent and dinner weight off for guests who book one of its cabins. It takes fewer than 20 guests a night, on one trek, and it doesn’t change the model for the Rockies as a whole.
What the extra weight does to you
The climbs cost more
Energy cost rises with load, and it rises faster on a grade than on the flat. A 760 m day at 18 lb (8 kg) and the same day at 40 lb (18 kg) aren’t the same effort plus a bit. The heavier version can hold you a heart rate zone higher for hours. One of our team learned what that adds up to over 8 days on the O Circuit under a heavy pack, where being fit wasn’t enough.
The descents hurt more
Every downhill step is your quads braking your body weight plus the pack, lengthening under load, thousands of times a day. That eccentric braking is where descent damage builds on multi day routes, and the pack multiplies it. On the Skyline the biggest dose comes last, on the Signal fire road.
Trunk and ankles get found out
A pack that shifts on a sloping, rocky traverse loads your ankles, hips and trunk in ways a gym machine doesn’t. Strong legs won’t cover for a trunk that can’t hold the load still, which is why core exercises for hiking belong in the plan alongside the leg work.
How to train for self supported trekking
You don’t need 8 hour rucks in training. You need an aerobic base, legs that can brake, and a body that has already carried the real weight enough times that nothing on the trail is a first.
That takes a progression, built week by week:
- Loaded rucks that start at 45 to 75 minutes and build to 3 to 4 hours.
- Stair climber sessions with the pack on. Rockies trails climb on long switchbacks, and we’ve compared stair climbers, incline treadmills and real hills for exactly this job.
- Strength work for the legs and trunk, so the load has somewhere to sit.
- Descent work, done on purpose, so the first big downhill of the trip isn’t the first big downhill of the year.
Our 8-Week Trekking Fitness Plan covers the ruck progression, from 45 to 75 minutes building to 3 to 4 hours by week 8, along with stair climber sessions and strength and aerobic conditioning. Every exercise has a video demo, with bodyweight alternatives included. It’s an 8 week downloadable PDF.
Do your last two or three long rucks with the pack you’ll actually carry, loaded to the weight you’ll actually carry. Weigh it on a luggage scale, not by feel.
